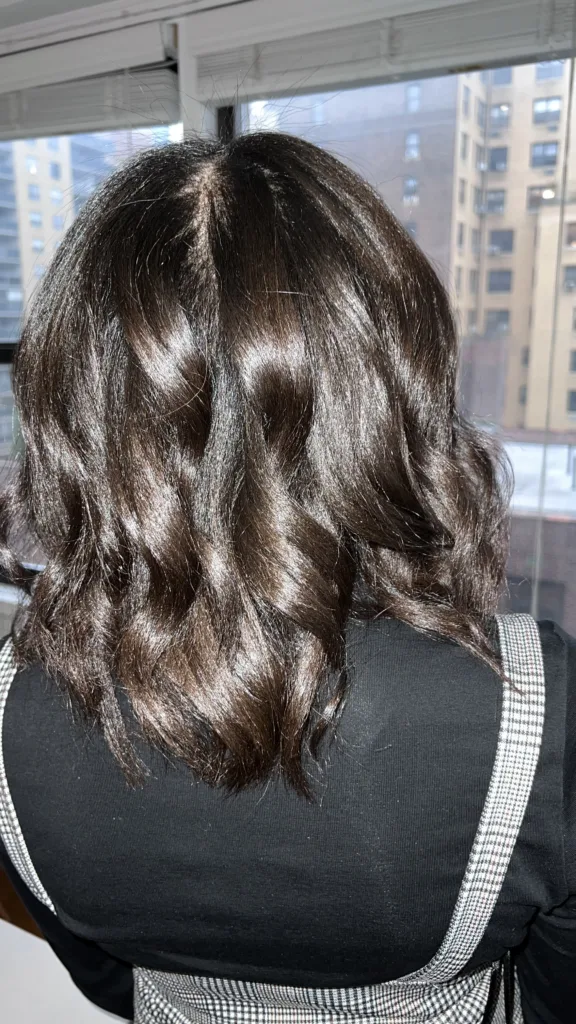
When I was growing up, a silk press on natural hair was simply called getting your hair pressed. I remember getting my hair pressed for special occasions. This involved getting a wash and set, and then having my hair straightened with one of those old school stove irons. And then, instead of getting it styled like all the girls in Seventeen magazine, I got my ends bumped.
Luckily for me, those days of bumped ends are long gone and when I get a silk press at the salon, I leave with soft, bouncy waves. The technique for straightening natural hair has evolved over the years and now, those of us without relaxed hair can get straight, silky and shiny hair without heat damage — when done right.
If you can’t go to a salon, you can do a silk press at home, achieving a smooth, sleek look while maintaining the integrity of your natural hair. Here are some steps to follow to achieve a successful silk press:
- Start with clean, dry hair: To get a truly silky silk press, your hair needs to be totally clean. I like to use a clarifying shampoo, but one that is not too stripping and leaves my hair moisturized. My favorite is Luster’s Pink Shea Butter Coconut Oil Sulfate Free Moisturizing Shampoo. Follow up with with a deep conditioner like the SheaMoisture Manuka Honey & Mafura Oil Intensive Hydration Treatment Masque. After rinsing, get the excess water out of your hair with a microfiber towel then dry it completely using a blowdryer, preferably on a cool setting.
- Apply a heat protectant: Before using any heat tools on your hair, it’s important to protect it from damage. Apply a heat protectant spray or serum evenly throughout your hair to create a barrier between your hair and the heat. My favorites are Olaplex No. 7 Bonding Oil, Olaplex No. 9 Bond Protector Nourishing Hair Serum, and CHI Keratin Silk Infusion. (If you really want to protect your hair, before applying the heat protectant, use a bond building treatment like the K18 Leave-In Molecular Repair Hair Mask.)
- Section your hair: Divide your hair into four or more sections, depending on the thickness and length of your hair. Use clips or hair ties to keep each section separate.
- Use a flat iron: Take one section of hair and clamp the flat iron as close to the root as possible. Slowly glide the iron down the length of the hair, working in small sections to ensure each strand is straightened. You shouldn’t go over a piece of hair more than once! I use the Dyson flat iron, which is great because it doesn’t get too hot but still makes my hair straight.
- Add finishing touches: Once you’ve straightened all of your hair, add a small amount of oil or serum to the ends to prevent frizz and add shine. You can also use a lightweight hairspray to keep your hair in place. The Oribe Impermeable Anti-Humidity Hair Spray is perfect for keeping your freshly straightened hair frizz free.
While silk presses are a great way to switch it up, they shouldn’t be done too frequently as it can cause heat damage to the hair. It’s recommended to wait at least 2-3 weeks in between silk press treatments to allow your hair to rest and recover. With proper care and maintenance, you can make your silk press last a full month.
Do you silk press your own hair? Leave your tips in the comments!

Leave a Reply